Fix
Why UV resin stays sticky or will not cure, and how to fix it
Published Updated
As an Amazon Associate we earn from qualifying purchases. This does not change our picks. Affiliate disclosure
New to Prime? Try Prime free for fast, free shipping on eligible items.
Short answer
UV resin that is hard but has a thin sticky film is usually fine: oxygen stops the very surface from curing, and the film wipes off with isopropyl alcohol after the last layer. Resin that is soft or wet did not get enough light. Use a 365 to 405 nm lamp, layers of about 2 to 3 mm, colorant under 5 percent, and cure both sides for 3 to 5 minutes each.
Gear for this job
All 7 picks comparedSuzzam 36 W double-sided UV resin lamp, 24 LEDs
See price on AmazonSee it on AmazonWondrokey 48 W double-sided UV lamp, 48 LEDs
See price on AmazonSee it on AmazonResiners AirWave Pro Foldable UV Lamp
See price on AmazonSee it on Amazon
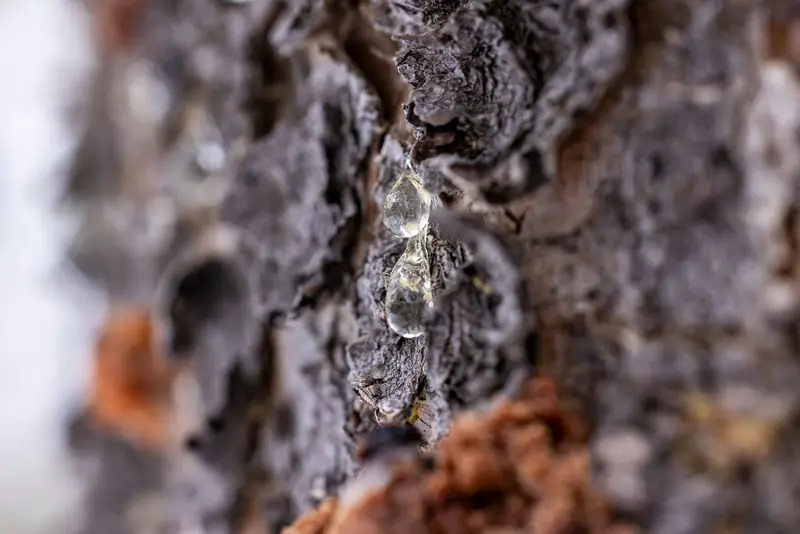
This page is for one-part UV resin, used straight from the bottle for jewelry, charms and small molds. It hardens only where UV light reaches it, so almost every sticky piece comes down to light that did not get to the resin. What decides the fix is whether the piece is hard under the stickiness. Two-part epoxy stays sticky for other reasons, covered in why epoxy resin stays sticky.
What kind of sticky is it? Match what you see
Put on nitrile gloves and press the piece with a toothpick. Settle first whether it is hard under the stickiness, then read down the left column. The most common case comes first, and more than one row can apply to the same piece.
| What you see | Likely cause | What to do |
|---|---|---|
| Hard piece, thin tacky film on the side that faced the air | Oxygen stops the surface from curing. Normal for many UV resins | Cure a little longer, then wipe with isopropyl alcohol after the last layer |
| Top is hard, bottom or mold side is sticky or wet | Opaque mold, or light from one side only | Demold, turn over and cure the underside 3 to 5 minutes |
| Skin on top, soft or liquid inside | Layer thicker than about 2 to 3 mm | Cure both sides longer. Next time build thin layers |
| Sticky or gummy only where the color is dark or dense | Pigment blocks light, is over 5 percent, or is not made for UV resin | Cure longer on both sides. If still gummy, remake with less color |
| Sticky all over, on every piece | Weak or wrong lamp: low wattage, or outside 365 to 405 nm | Use a 365 to 405 nm lamp above 12 W, 3 to 5 minutes per side |
| Still wet or tacky after curing in daylight | Not enough UV: cloud, shade or a short exposure | Direct sun 5 to 15 minutes, cloud 20 or more. Finish under a lamp |
| Not sticky, but rubbery straight out of the lamp | Can be normal: Resin Rockers says its resin hardens for 6 to 12 more hours | Let it rest before judging it |
Why is my UV resin tacky on top when it is hard underneath?
This is the most common case, and usually nothing has gone wrong. Oxygen in the air stops the very top of the resin from curing, so many UV resins come out of the lamp hard with a thin sticky film on the open face. Art Clay World's instruction sheet says it plainly: cured resin will have a tacky surface even though the resin has hardened.
Let's Resin's first advice for a tacky surface is to extend the curing time, so put the piece back under the lamp first. If the film stays, wipe it once with a paper towel dampened with isopropyl alcohol. Keep the wipe quick: Let's Resin warns that rough scrubbing, high-strength alcohol or acetone can cloud a finished piece. A thin clear coat of UV resin, cured, gives a glossy face.
Note.Do not clean the film off between layers: Art Clay World says not to use cleaner there. Wipe only after the final layer.
Sticky on the bottom: opaque molds and one-sided curing
In a colored or opaque silicone mold the light comes from the top alone. Let's Resin describes the result: an opaque mold blocks the UV light and leaves the bottom sticky and uncured, while a transparent mold lets light in from both sides. Resin Rockers gives the routine for molds and layered pieces: cure right side up, then upside down.
To rescue the piece, cure the top until it holds its shape, demold, turn it over and cure the underside for 3 to 5 minutes. Uncured resin left in the mold wipes out with isopropyl alcohol: see how to clean silicone resin molds.
Note.Wear nitrile gloves. Liquid UV resin can cause skin allergy with repeated contact, and a sticky piece still carries uncured resin.
Soft or liquid inside: the layer is too thick
UV resin cures only as deep as the light reaches. Makers' reference layers are about 2 to 3 mm. In a deeper pour the top skins over while the resin below stays soft. Art Clay World notes that a thick piece cures slower because UV rays do not pass easily through the thickness, and it builds thicker pieces by repeating the coat and cure cycle.
First turn the piece and cure each face again. Resin the light cannot reach will not finish on its own, because UV resin does not harden in room air without UV. If the core stays liquid, remake the piece in layers. The resin calculator shows how many layers a mold depth takes.
Sticky where the color is: too much pigment
Every colorant gets in the way of the light. Let's Resin's limit is additives under 5 percent of the resin volume, with the warning that more can prevent proper curing. Art Clay World's rule of thumb: the darker the color, the longer the cure. Resin Rockers adds a second cause: many pigments on the market are not made for UV resin and can leave a piece sticky and gummy.
A piece that is tacky only in the colored areas often firms up with a longer cure on both sides. One that stays gummy all through has too much colorant, or the wrong kind, and more lamp time may not fix it. Remake it with less color: see how to color UV resin.
Why won't my UV resin cure? Check the lamp
UV resin needs light of 365 to 405 nm. Let's Resin advises a lamp above 12 W and not over 54 W, because too much power can wrinkle the surface. Resin Rockers asks for 24 to 36 W. As a reference, a clear layer of about 2 mm takes 30 to 90 seconds under a UV-LED lamp and 2 to 4 minutes under a 36 W tube lamp. Colored resin takes longer.
If every piece comes out sticky, check the wavelength and wattage printed on the lamp against the instructions for your resin. Daylight works but is slow, as covered in curing UV resin without a UV light. The UV resin curing time chart lists times by light source.
How to fix sticky UV resin, step by step
Work from the gentlest fix to the strongest, and stop as soon as the piece is hard and dry. Wear nitrile gloves and do not look into the lamp.
- 1
Press the piece with a toothpick. Hard under a thin film is a surface problem. Soft or wet underneath is an under-cure.
- 2
Cure again for 3 to 5 minutes per side. Take the piece out of an opaque mold first so light reaches the underside.
- 3
Let it cool for 1 to 2 minutes, the wait Let's Resin gives before touching, then test again.
- 4
If a tacky film remains on a hard piece, wipe it once with isopropyl alcohol on a paper towel. One quick pass, no scrubbing.
- 5
For a glossy face, brush on a thin clear layer of UV resin and cure it for 3 to 5 minutes.
- 6
If the inside is still soft after step 2, the light cannot reach it. Remake the piece in layers of about 2 to 3 mm with less colorant.
How to prevent sticky UV resin next time
Sticky UV resin almost always means light did not reach the resin: too thick, too dark, the wrong side or a weak lamp. Four habits cover the table.
- Pour layers of about 2 to 3 mm and cure each one before adding the next.
- Cure right side up, then upside down, in a clear mold or after demolding.
- Keep colorant under 5 percent of the resin volume, and use colorants made for UV resin.
- Use a 365 to 405 nm lamp above 12 W and not over 54 W, or the wattage in your instructions.
Sticky UV resin and water: what to check before wearing a piece
A tacky surface matters most when the piece will meet water. Resin that is still soft or sticky on top is not a dependable barrier: it can pick up lint, and soap and water may leave it cloudy or white. Fully cured UV resin is generally water resistant, so the goal is to finish the cure first and only then think about rinsing, washing or wearing the piece. Cure thin layers, flip the piece to cure the back, and finish with a thin clear coat cured for the full time your lamp needs.
Jewelry and coated clay, wood or paper deserve extra care, because thin or shaded areas are where undercured resin tends to hide. If you plan to wear a piece near water, read is UV resin waterproof for what cured UV resin can handle, which habits like showers and swimming are worth skipping, and how it compares with epoxy for wet uses.
Quick answers
Short answers to the most searched questions about sticky UV resin. Times and limits are maker figures, and the instructions for your own resin win.
- Why is my UV resin sticky after curing? If it is hard underneath, the film comes from oxygen at the surface and wipes off with isopropyl alcohol. If it is soft, it needs more light.
- Why is my UV resin not curing? The layer is too thick or too dark, the mold is opaque, or the lamp is weak. UV resin will not harden in room air without UV.
- How to fix sticky UV resin? Cure 3 to 5 minutes per side, wipe any remaining film with isopropyl alcohol, then add a thin clear coat and cure it.
- Why is my UV resin always sticky? Many UV resins always leave a thin tacky film on the open face. If pieces are soft as well, check the lamp and the layer thickness.
What you need for this
- See price on AmazonAmazon
Suzzam 36 W double-sided UV resin lamp, 24 LEDs
From Best UV light for curing resin: lamps, flashlights and wattage
- See price on AmazonAmazon
KISREL hard type UV resin, 300 g bottle
From Best UV resin for jewelry making: clear, hard and low odor
- See price on AmazonAmazon
CRAFT RESIN UV kit, 200 g resin and 36 W lamp
From Best UV resin kit with light: starter sets for beginners